The USB Switch (w.o. batteries!)

One of the challenges of the book scanner I looked forward to was the making of a USB remote which allows the user to snap pics from two cameras at the same time (important when scanning a book with two cameras!). Daniel Reetz’ original instructions (and most users in the book scanning forums) suggest using certain Canon cameras which, when tweaked with special firmware, are able to snap pictures at the push of a button via the USB port. By far the camera of choice is the Canon a590, a hard-to-find discontinued camera which often was available for as little as $100.
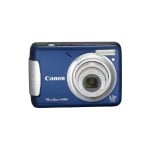
Fortunately, as I started the project, that special firmware tweak became available for the Canon A480, recently available for $89. It’s a 10 megapixel camera and thus capable of snapping high quality shots of text and images.
Making the Remote
First, I needed a USB Hub (which will eventually carry power to two different cameras). I purchased a cheap one with lights (lots of lights!) so that I had a clear sign when the button was pushed…
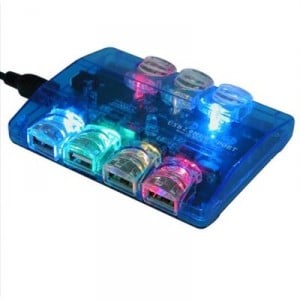
7 Port LED Light High Speed USB Hub – BLUE [amazon.com]
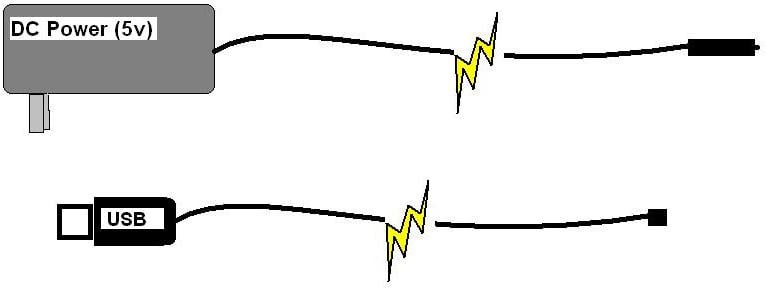
This product comes with a power supply cord (5v DC) and a USB cable. This means I can create my camera remote without need for a battery (which is the common method). Here’s what I did…
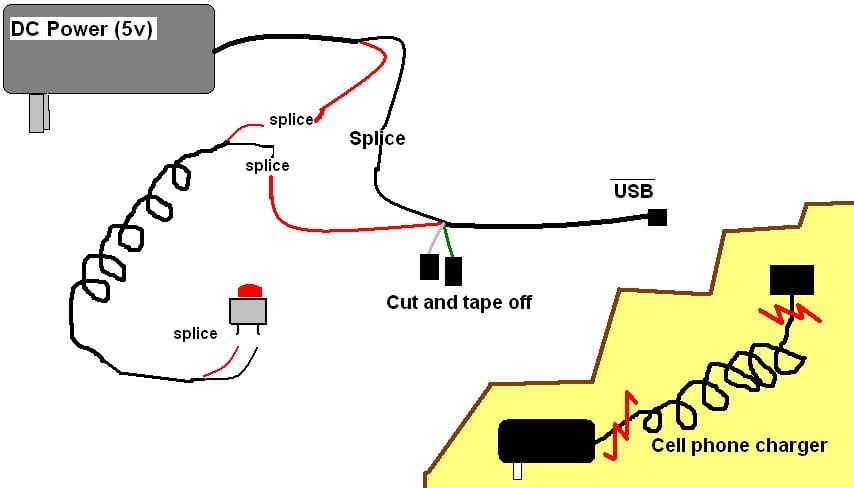
Add a 50 cent cell phone charger (from the thrift store) and a momentary switch (button)…
 The Button
 (available at hardware stores and amazon.com [link left]–I happened to have one on an old joystick that looks just like the one in the image to the right).
And the final product…
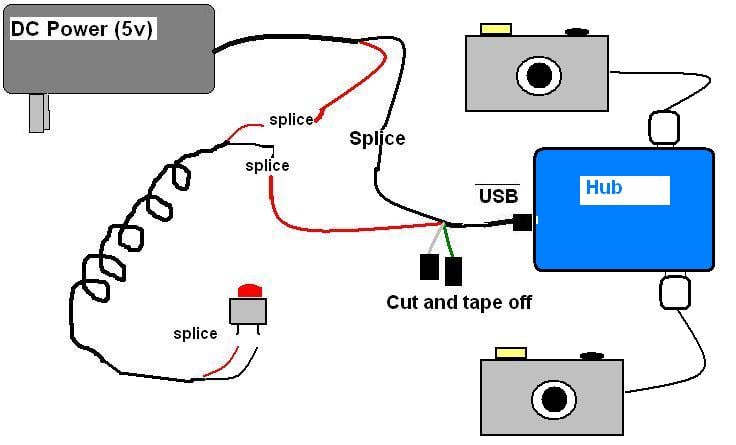
And it works like a charm!
In my case, when I press the USB button, the camera focuses for the shot. A quick release and repress of the bottom cause the camera to take the picture. The exact voltage heading through the hub to the cameras is 4.74 volts. I didn’t tweak this voltage–it’s simply what resulted in my set up.
Next post
For those interested in tech issues of getting the remote to work with the Canon a480, I’ll share the instructions I followed.
Please provide more updates!
You state you add a cell phone charger, but I don’t understand where it fits in if you already have the power cord from the hub. Do you need both power supplies, or is this either/or? Thanks for posting all this. Your instructions are just what an electronics newb like me need.
Mat, I wanted the cell charger only for its cord–to create a nice coiled wire leading to my hand-held button. You can throw away the two ends of the cell charger–the only power supply I used is the one that came with the USB hub. Does that help?
I see. A second look and you did state that in your diagram. Sorry, thanks again.
Bonsoir
Je suis redevable de votre adresse que j’ai relevée sur un fichier PDF diy book scanner
je recherche le fichier numérique pour faire la découpe du scanner .
Félicitation pour votre télécommande
Cordialement.
Etienne Berthaud
Merci. Meilleurs vœux.
[…] In the Beginning… starting the project and the USB switch. […]
[…] as a document and book scanner. I started a DIY Book Scanner project a few years ago (see here and here and here), but never finished. Now that I’m in a new country during Ph.D. studies, I […]